Tutorial
How to Clip YouTube Videos Without Downloading
You want to save a 30-second moment from a 45-minute video. The explanation you'll need again. The one drill worth showing the team. Here's how to do it in under a minute — nothing downloaded, no account, no file sitting in a folder.
First, a warning about what you'll find if you search for a YouTube clipper.
What most people mean by "YouTube clipper" — and why we don't
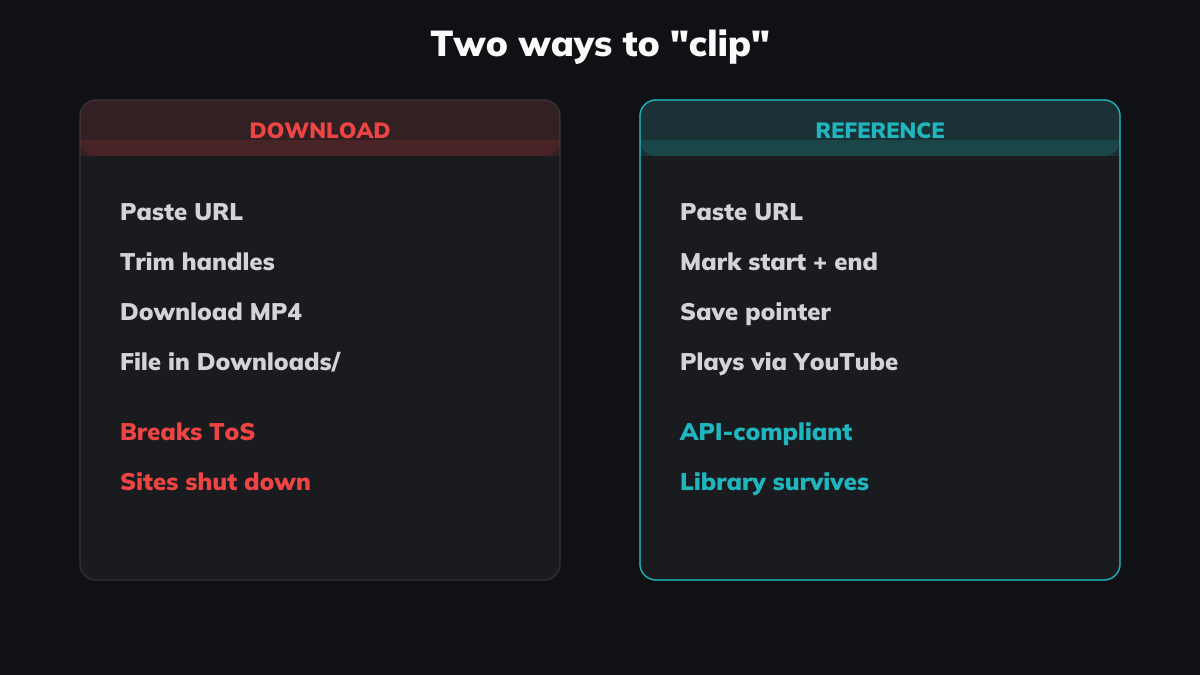
Search clip youtube video and the whole first page does the same thing. Paste a link, drag two handles, download an MP4. YTCut, Cutter.yt, Clipperfox, Klipz, TubePilot — trimmer-downloaders, every one. Clipperfox says outright that it runs ffmpeg and yt-dlp on its servers. Cutter.yt cross-sells a full "YouTube downloader" on the same page.
Two problems with that.
The first is that downloading someone else's video breaches YouTube's Terms of Service. Not always illegal — yt-dlp is legal, open-source software, and the EFF has defended it — but against the rules of the platform you're pulling from.
The second problem is worse for you specifically: these tools disappear. YouTube-mp3.org had 60 million visitors a month before record-industry lawyers shut it down. IFPI closed twelve of the largest rippers in one sweep in October 2025. Build a habit around a downloader and the habit dies the day the site does. The full case for why longevity matters is here.
So "clipper" almost always means "downloader." This guide means something else. A clip, here, is a saved reference to a moment — a start time, an end time, a tag — that plays back through YouTube's own player. Nothing leaves YouTube. Nothing lands on your disk. The point isn't to own the video. It's to find the moment again.
The method: paste, play, mark, save
Four steps. No install, no extension, no sign-up.
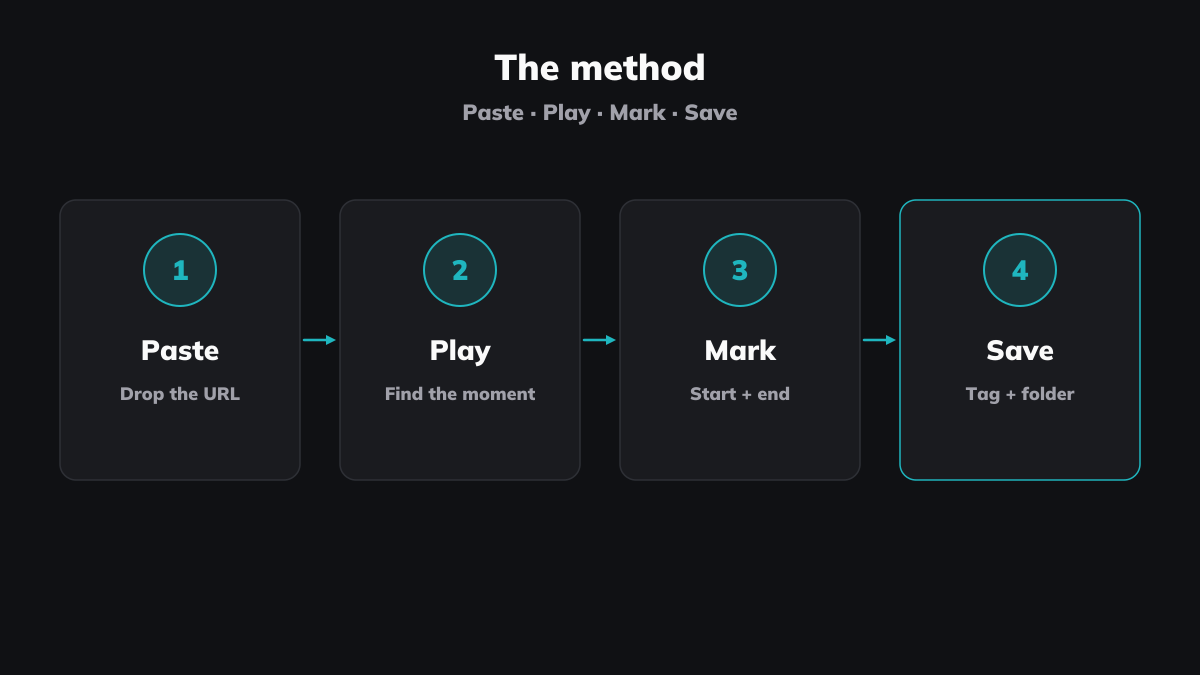
1. Paste the URL. Copy the link to any public YouTube video and paste it into Klipptik. The video loads in a player, ready to scrub.
2. Play to the moment. Watch, or drag the scrubber to roughly where the part you want begins. You don't need to be precise yet.
3. Mark the start and end. Hit the start marker at the first frame you care about. Let it run. Hit the end marker when the moment's done. That span — say 6:48 to 8:20 — is your clip. No 60-second ceiling. No minimum. A 12-second definition and a 9-minute walkthrough are both fine.
4. Save. Give it a tag or two, drop it in a folder, done. The clip is now in your library, searchable, ready to replay in one click.
That's the whole loop. Once you've done it twice it takes about twenty seconds a clip — fast enough to do while you watch, not as a chore afterwards.
Getting the timing right
The one thing worth doing well is the edges.
Scrub to a few seconds before your moment and mark the start there — a clip that begins mid-sentence is useless three weeks later when you've forgotten the setup. Give it a breath of lead-in. For the end, let the thought finish. The point of a clip is that you can drop into it cold and it still makes sense on its own.
If you overshoot, adjust the markers — the start and end are just numbers, and you can nudge them after the fact. Nothing's been rendered or cut, so there's nothing to redo.
A real run-through
Say you're watching a 32-minute Ali Abdaal video on building a study routine. Around 11:20 he explains the difference between active recall and rereading in about ninety seconds — the clearest version of it you've heard. You'll want that again before your own exams, or to send a friend who keeps rereading their notes.
Old way: you'd note "11:20 — active recall bit" somewhere, or copy a &t=680 link into a doc. Three weeks later you open the doc, click the link, land at 11:20, and spend a minute re-establishing what he was even answering. Multiply that by fifty saved links and the doc becomes its own chore.
Clipped way: at 11:18 you mark the start — two seconds early, so the setup's intact. At 12:50, when the point lands, you mark the end. Tag it active-recall and study, drop it in a revision folder. Done, mid-video, without breaking your watching.
Now fast-forward. Exam week, you search active recall across your library. That clip comes up — alongside the Osmosis explanation you saved from a different video months ago, and a Thomas Frank one from a third. Three takes on the same idea, from three people, playable back to back. You never downloaded anything. You never left the moment to go hunting. The library did the finding for you.
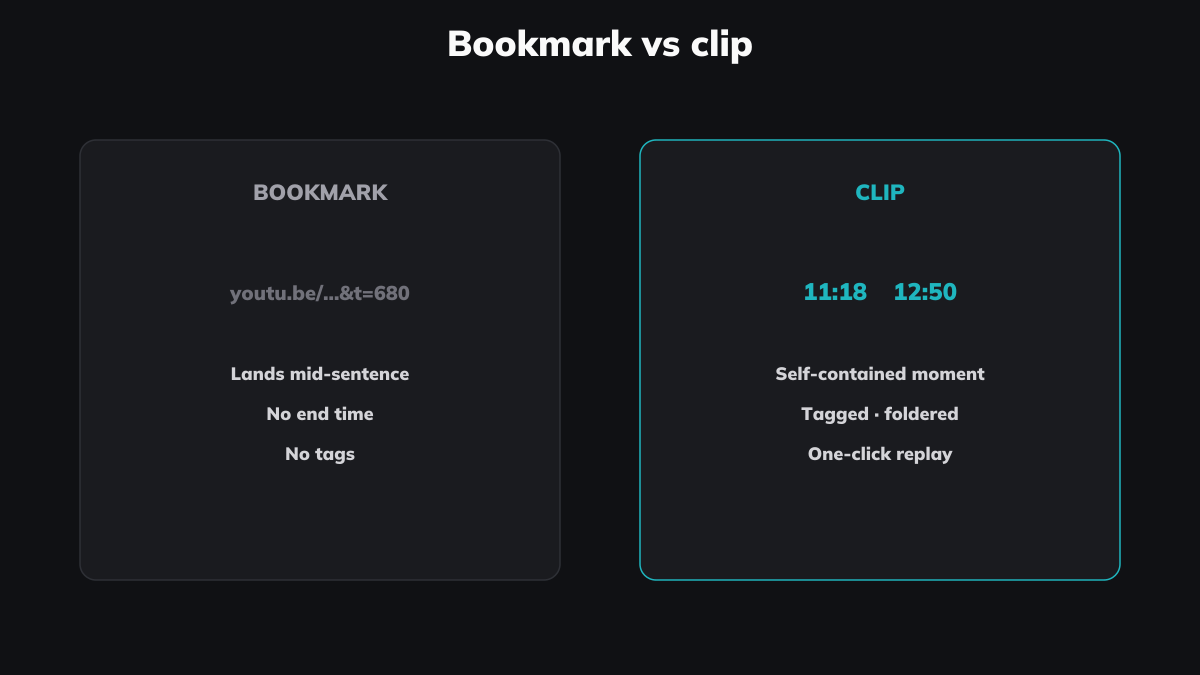
What clipping without downloading actually gets you
A downloaded MP4 is a dead end. It's a file in your Downloads folder named video (3).mp4, and in a month you won't know what's in it or why you saved it. A clip in a library is the opposite — it's built to be found.
Tags you chose. Tag a clip pull-back, useEffect, cardiac-cycle — whatever matches how you actually think about it. Search that word later and the clip surfaces.
One library, every source. Klipptik clips YouTube, but also Vimeo, Twitch, and your own local video files. The React tutorial, the conference recording, the lecture capture on your drive — same searchable space. A downloader gives you scattered files. A library gives you one place.
Replay in a click, or in sequence. Reach for a saved clip and it plays the exact span, instantly. Collect several on one topic and play them back-to-back — five explanations of the same idea from five different people, in the order you chose.
Share the moment, not the file. Group a handful of clips, name the group, and share one link. That shared collection is a Klipptik. Your study partner or teammate opens it and watches the moments in order — the videos still stream from their own platforms, the creators still get the views.
That last part is worth sitting with. You didn't make the source videos. You chose the moments and arranged them. The arrangement is the thing that's yours.
But YouTube already has a Clips button
It does, and for a quick share it's fine — better than fine, it's free and built in. If you just want to fire a 30-second laugh to a friend inside YouTube, use it.
Here's where it stops. Native Clips caps at 60 seconds and won't go below 5. You can't stitch two moments together — it's one continuous section only. You can't clip a video under 2 minutes, a made-for-kids video, a news-channel video, or a channel that switched clipping off. And every clip you make lives in a flat list inside YouTube, with no tags, no folders, no search, and no awareness that your Vimeo lectures or local recordings exist.
Clips is a share button. It was never meant to be a library. That's the gap. If you want the full breakdown of every way people save YouTube moments — chapters, bookmarks, notes, screenshots, downloaders, and clipping — we compared all five honestly here.
How it works under the hood
Worth knowing, because it's why the clip survives.
When you save a clip, Klipptik stores the reference — the video's ID, your start and end times, your tags. It doesn't store the video. Playback runs through YouTube's own embedded player, using the official APIs, exactly as if you'd opened the video on YouTube itself. The view counts. The creator's ad plays. Nothing's been copied or stripped.
That's not a limitation dressed up as a virtue. It's the reason the tool can last. Downloaders fight the platform and lose. A tool that plays videos the way YouTube intends has nothing to shut down.
Metadata is also small and portable. Your library is a set of references, not a pile of gigabytes — which is why there's no storage limit to hit and nothing to lose if you switch devices.
Clip your first one
Pick a video you've been meaning to come back to. Paste the link, mark thirty seconds worth keeping, tag it, save it. That's the whole skill. Do it while you watch, not after, and in a month you'll have something a Downloads folder never becomes: a library you actually use.
Clip your first video — free, no account required.